Most people don’t realize this can happen until it’s too late. The best way to avoid this tragedy, other than specific storage conditions (cold and dry), is to scan the images right away.
Our memory of an event is stored in the elements of an image. Should that image change, become damaged or even lost, affects how we remember the time it was taken. And we take pictures to capture our experiences so it makes sense that we would want to protect that memory.
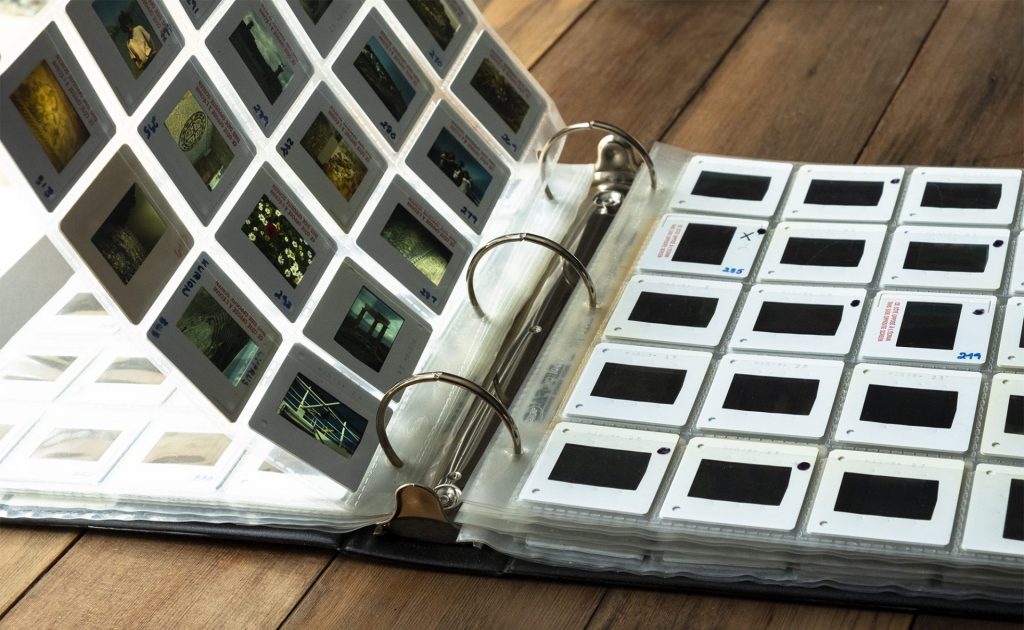
Not many people still shoot with film, let alone slides. But back in the days when every image had a cost, slide film was cheaper than print. And when we wanted to travel and shoot as much as we could, slide film was a must. And my parents travelled a lot. They must have over 1000 slides.
This winter, my mother and I made the commitment to scan all those slides. It’s a daunting task but when I discovered how many slides she actually had, we made it a priority.
We started out sending a few images to be scanned by a company in our area; Digital Treasures. This is a good option if your time is limited. Each slide or print worked out to be about $0.50. Having someone else do the scanning saved us some of the effort and the process was relatively straightforward. But keep in mind, once the images are scanned, you still need to download, rename and organize the images on your own computer. It’s important to set aside the time needed to do this properly.
Even though we knew we had a lot of images to get through, we decided to review and scan most of the images ourselves – a little bit at a time.
As a professional photographer, I have a scanner for just this purpose. But while it is a good (if somewhat dated) machine that can customize each scan in great detail, each slide takes a few minutes. That time can really add up. Plus, we decided we wanted to share the reviewing process with the family. The best way to do that would be to show the images on our large flat-panel tv. We needed a scanner that could do that.
After some research, we decided to buy the Kodak Scanza Digital Film Scanner for about $200.
There are many similar products on the market and this article isn’t a review of this scanner though I would recommend it. The resolution is 14MP (22MP Interpolated), the process is simple and it comes with an HDMI cable so you can connect it to your tv. (We did purchase a longer cable, however, to make the living room viewing more comfortable.) The scanner comes with multiple holders for slides and negatives up to 35mm in size.
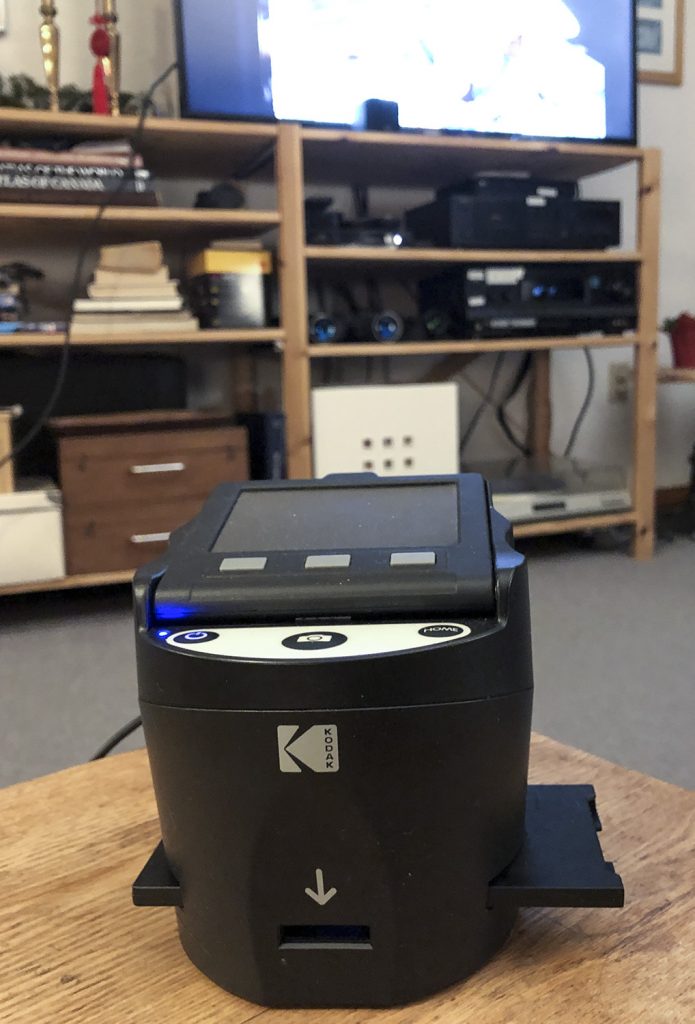
The reviewing process turned out to be a lot of fun. We set a recurring time on the weekend before dinner and we generally reviewed and scanned about 100 images. The process was simple; I inserted the images into the slide scanner, and my mother would share the story behind the image. We then decided whether to scan the or not by pressing the big button on the top. The scanner stores the images on an SD card and after our review session, I copied the images to a computer where I renamed and organized them into date and event-related folders. As part of my photo management process, the photos were backed up to an external hard drive and then to a cloud service where we can share them with other family members.
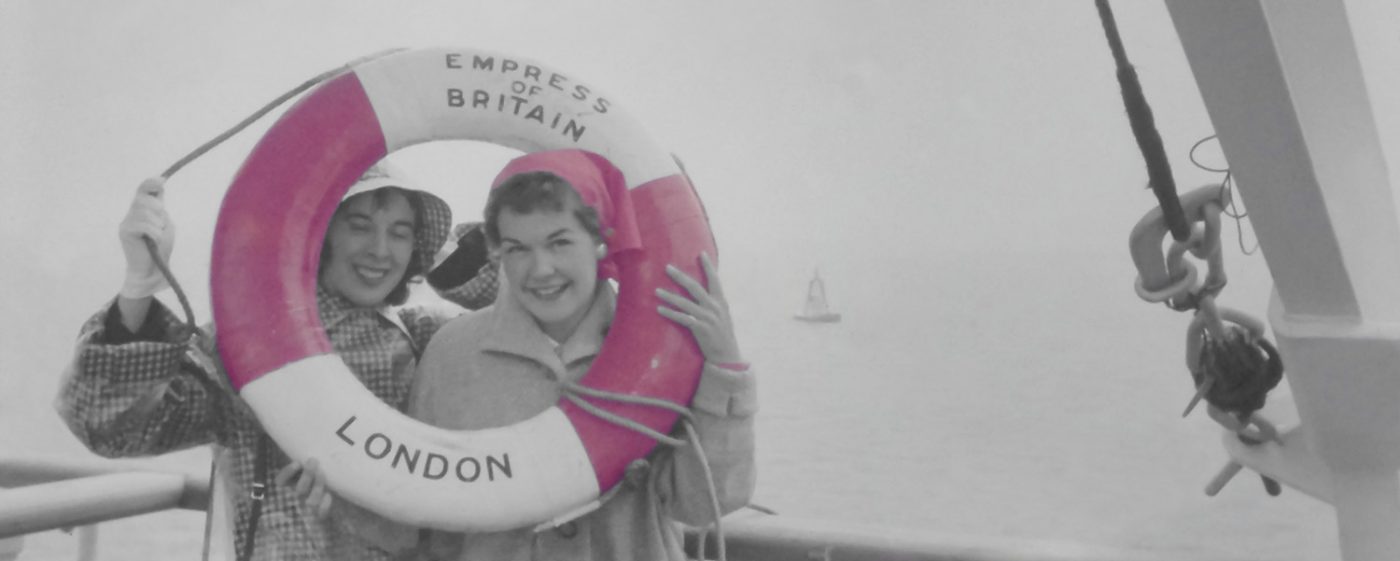
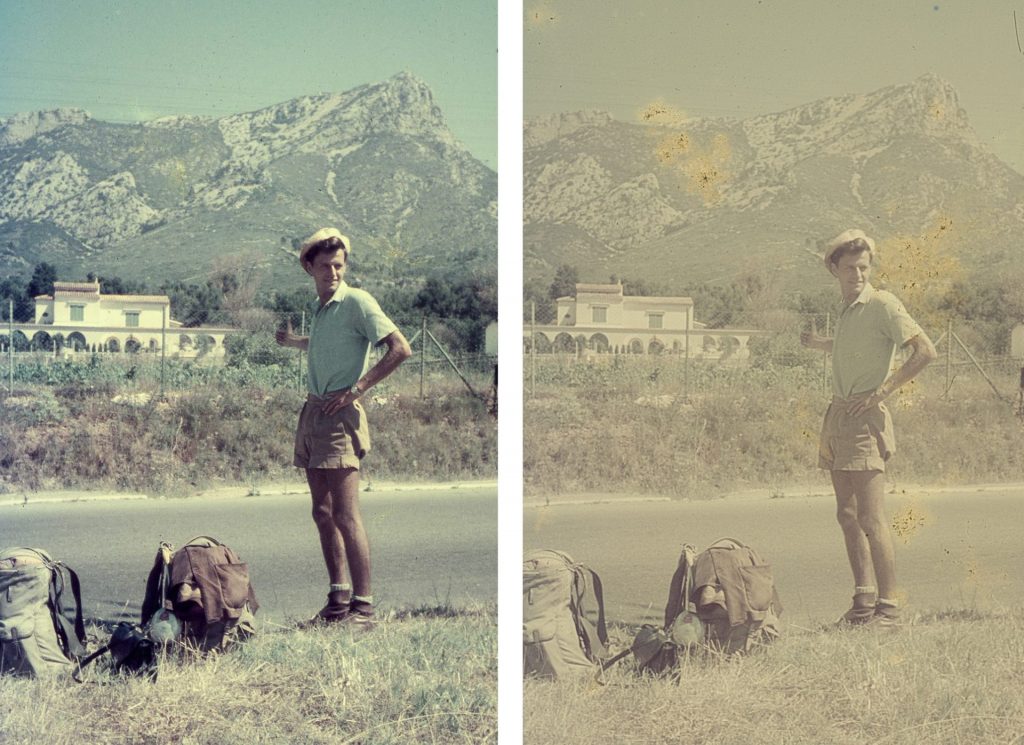
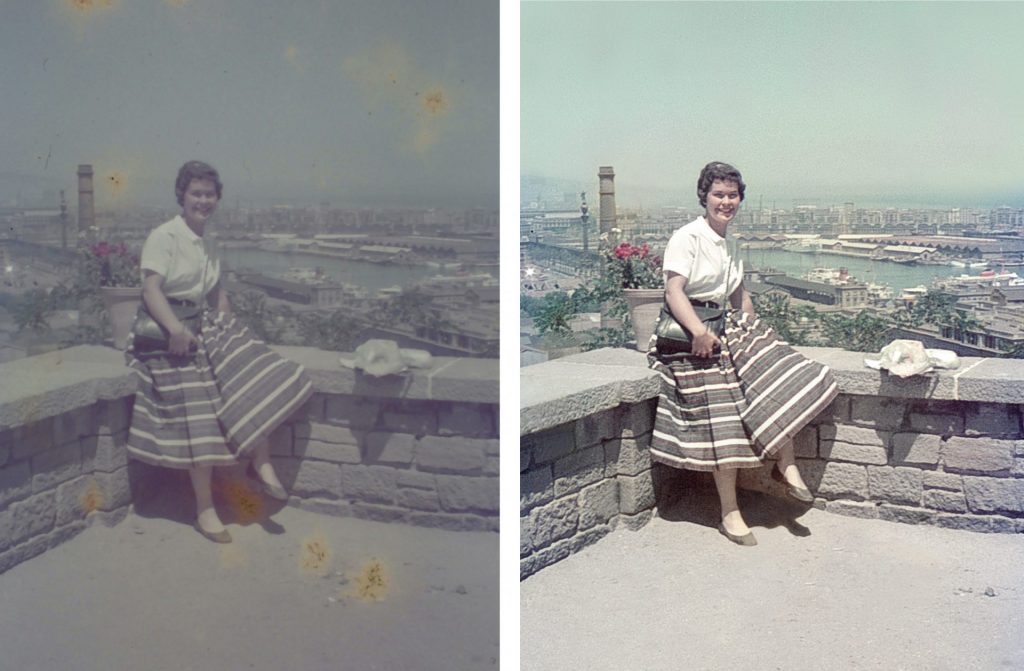
For the most part, the slides for the past 50 years were in good shape. It was truly disappointing to find that the images from her trip to Europe in 1956 (featured above and below) were damaged. This trip had been family lore for years. It was truly epic.
Back in the early 2000’s we had scanned one or two of the images from this trip so I knew a little of the story. To see the other images faded and stained was such a shame and just brought home the point that to preserve these memories properly, we should have scanned them all 20 years ago.
Luckily, technology and skill were on our side. The Kodak scanner has some ability to adjust the colour and brightness of typical slides but for the really damaged images, I decided to rescan them with my professional scanner and fix them in Photoshop. Not impossible, but definitely time-consuming. I’m just glad we caught them before the damage became worse.

It all starts with a gasp. A tightening of the chest, prickly skin, perhaps even a cold sweat.
No!
What happened to my images?
If you are like me, your smartphone is never far from your hand and you take pictures daily. Sometimes it’s just a shot of a pretty flower or interesting shadow. Other times it’s something you don’t want to miss, a reunion with friends, a child’s first step. Whatever the images on your phone, they are important and precious. What if your phone suddenly died? What if you no longer could view your images? It’s almost incomprehensible. Not to worry, there are simple ways to protect your images from loss.
The most important thing when it comes to your images is to make sure they are backed up to some device other than your phone. Phones get stolen, they get lost, and yes, they get dropped into toilets.
I have been a photographer since I was 15. I have taken many, many photos. You would think that I had my process down pat and that I was a paragon of virtue when it comes to backing up my images. Nope. I also get distracted by life and I put off the simple tasks well, because I would rather be out shooting. But I also know that it has to be done, so I make the time.
If you are ready to move forward, as the diagram below shows, it starts with getting your images onto your computer and the cloud.
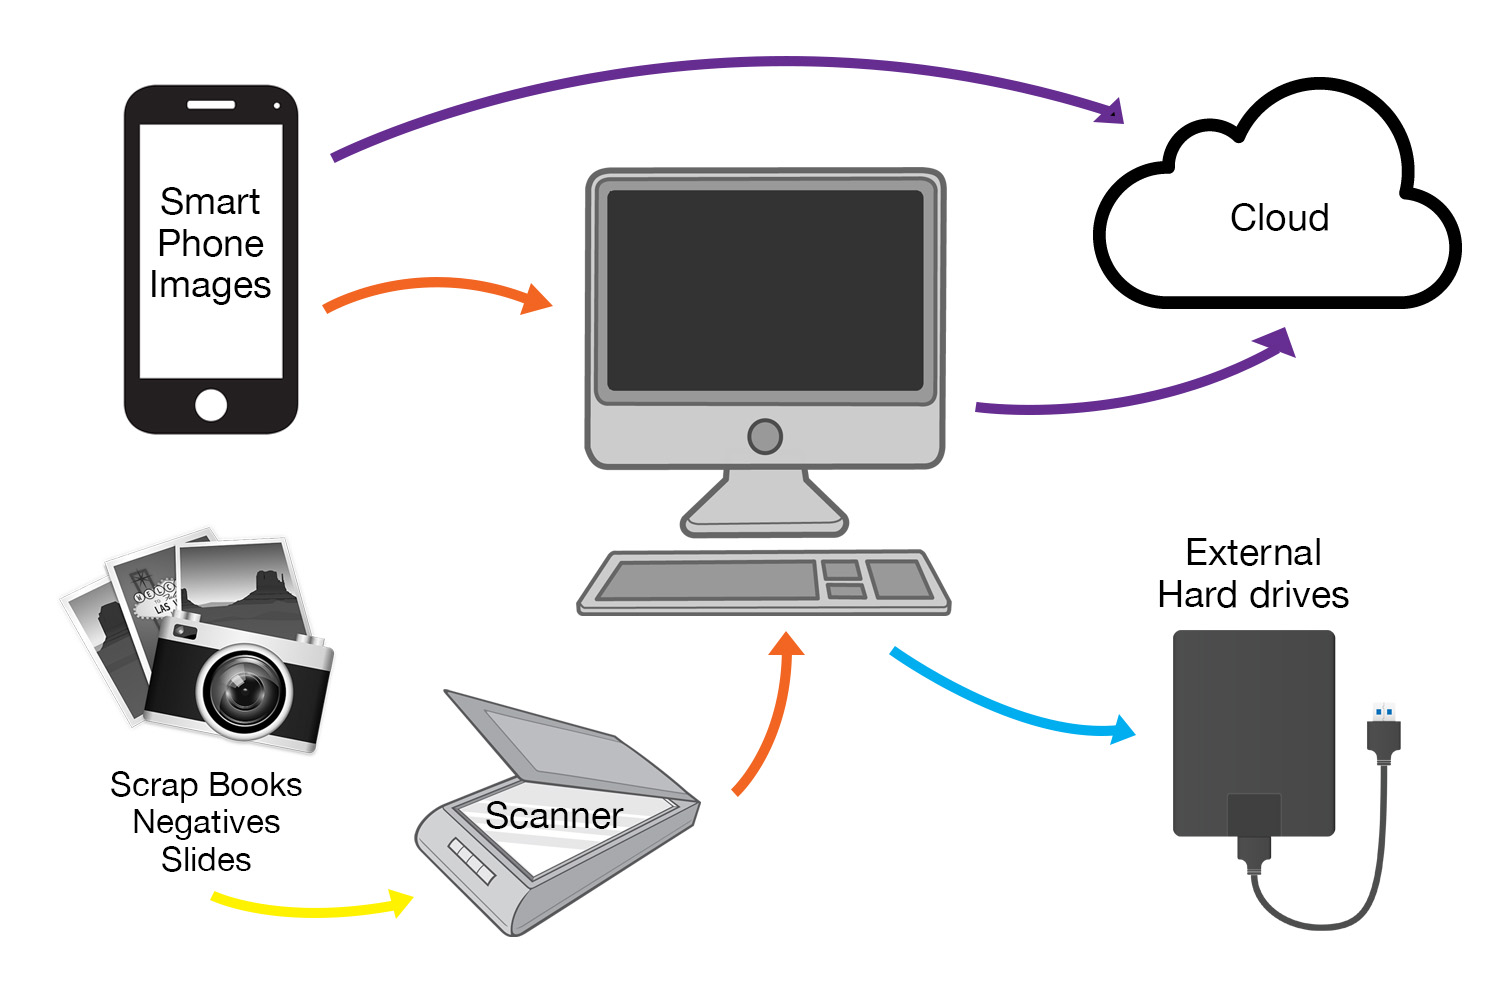
- Make sure the images on your phone are backed up to either the cloud or your computer.
- Collect all your digital images from SD cards, hard drives and old computers and put them on a primary reliable computer.
- Scan all prints and slides from the era before digital and add the files to your primary computer.
- Back up all your digital images to your cloud account.
- Save a copy of all your digital files to one or two external hard drives. Regularly update these hard drives. Store a hard drive off site, either a bank vault or a friends place.
Whew!
But before you pull a Flaming Elmo or run away, keep in mind that the extent of your photo management process depends on how you take pictures.
I like to think that there are three different types of photographers. I call them the Socialite, the Adventurer, and the Pro.
The Socialite
The Socialite likes to record her social activities and share them on social media but she doesn’t use any other type of camera. She may have photo albums from the distant past when she used a film or digital camera.
For the Socialite, making sure her images are backed up to the cloud and keeping a copy on her computer is a good start. Scanning her historic images, if she has any, is something she can do over time.
The Adventurer
The Adventurer takes pictures with her phone but she also has a digital camera and she travels with both. Sometimes she has hundreds if not thousands of images to deal with after her vacation. If she was organized in the past, she has many scrapbooks to show for her travels.
She needs to gather all of her images onto her computer. She needs to copy her SD cards and scan her historical images into digital format. Once all her images are in the same place she can rename and organize them. From there she should save a copy to the cloud as well as an external hard drive.
There are many types of Adventurers and that will determine what software they use to manage their photos and how many places they back up their files. Some options are Adobe Lightroom, ACDSee, and Apple Photos.
The Pro
The Pro already knows what to do and isn’t reading this article. They are the Adventurer x10 and because they shoot for clients, there are legal and security protocols built into their process for managing photos.
Whatever type of photographer you are, the fundamentals don’t change when it comes to protecting your images. We all need to back up our photos to one or more places other than our phones to make sure they are safe.
